
This is my story of how I learned to restore rusty cast iron using pantry ingredients. It looked like something out of a sitcom: I was driving down a quiet neighborhood street when I suddenly slammed on my brakes, tires screeching, in the middle of the road. Because I had spotted a yard sale, and at the yard sale, I saw a box of something that looked awfully like cast iron. And boy, was I right. Dumped unceremoniously into a cardboard box was a stash of cast iron — grill pans, skillets, dutch ovens, you name it — coated in a thick layer of rust. I paid $20 for the whole stash and gleefully sped away, witch-cackling at my find.

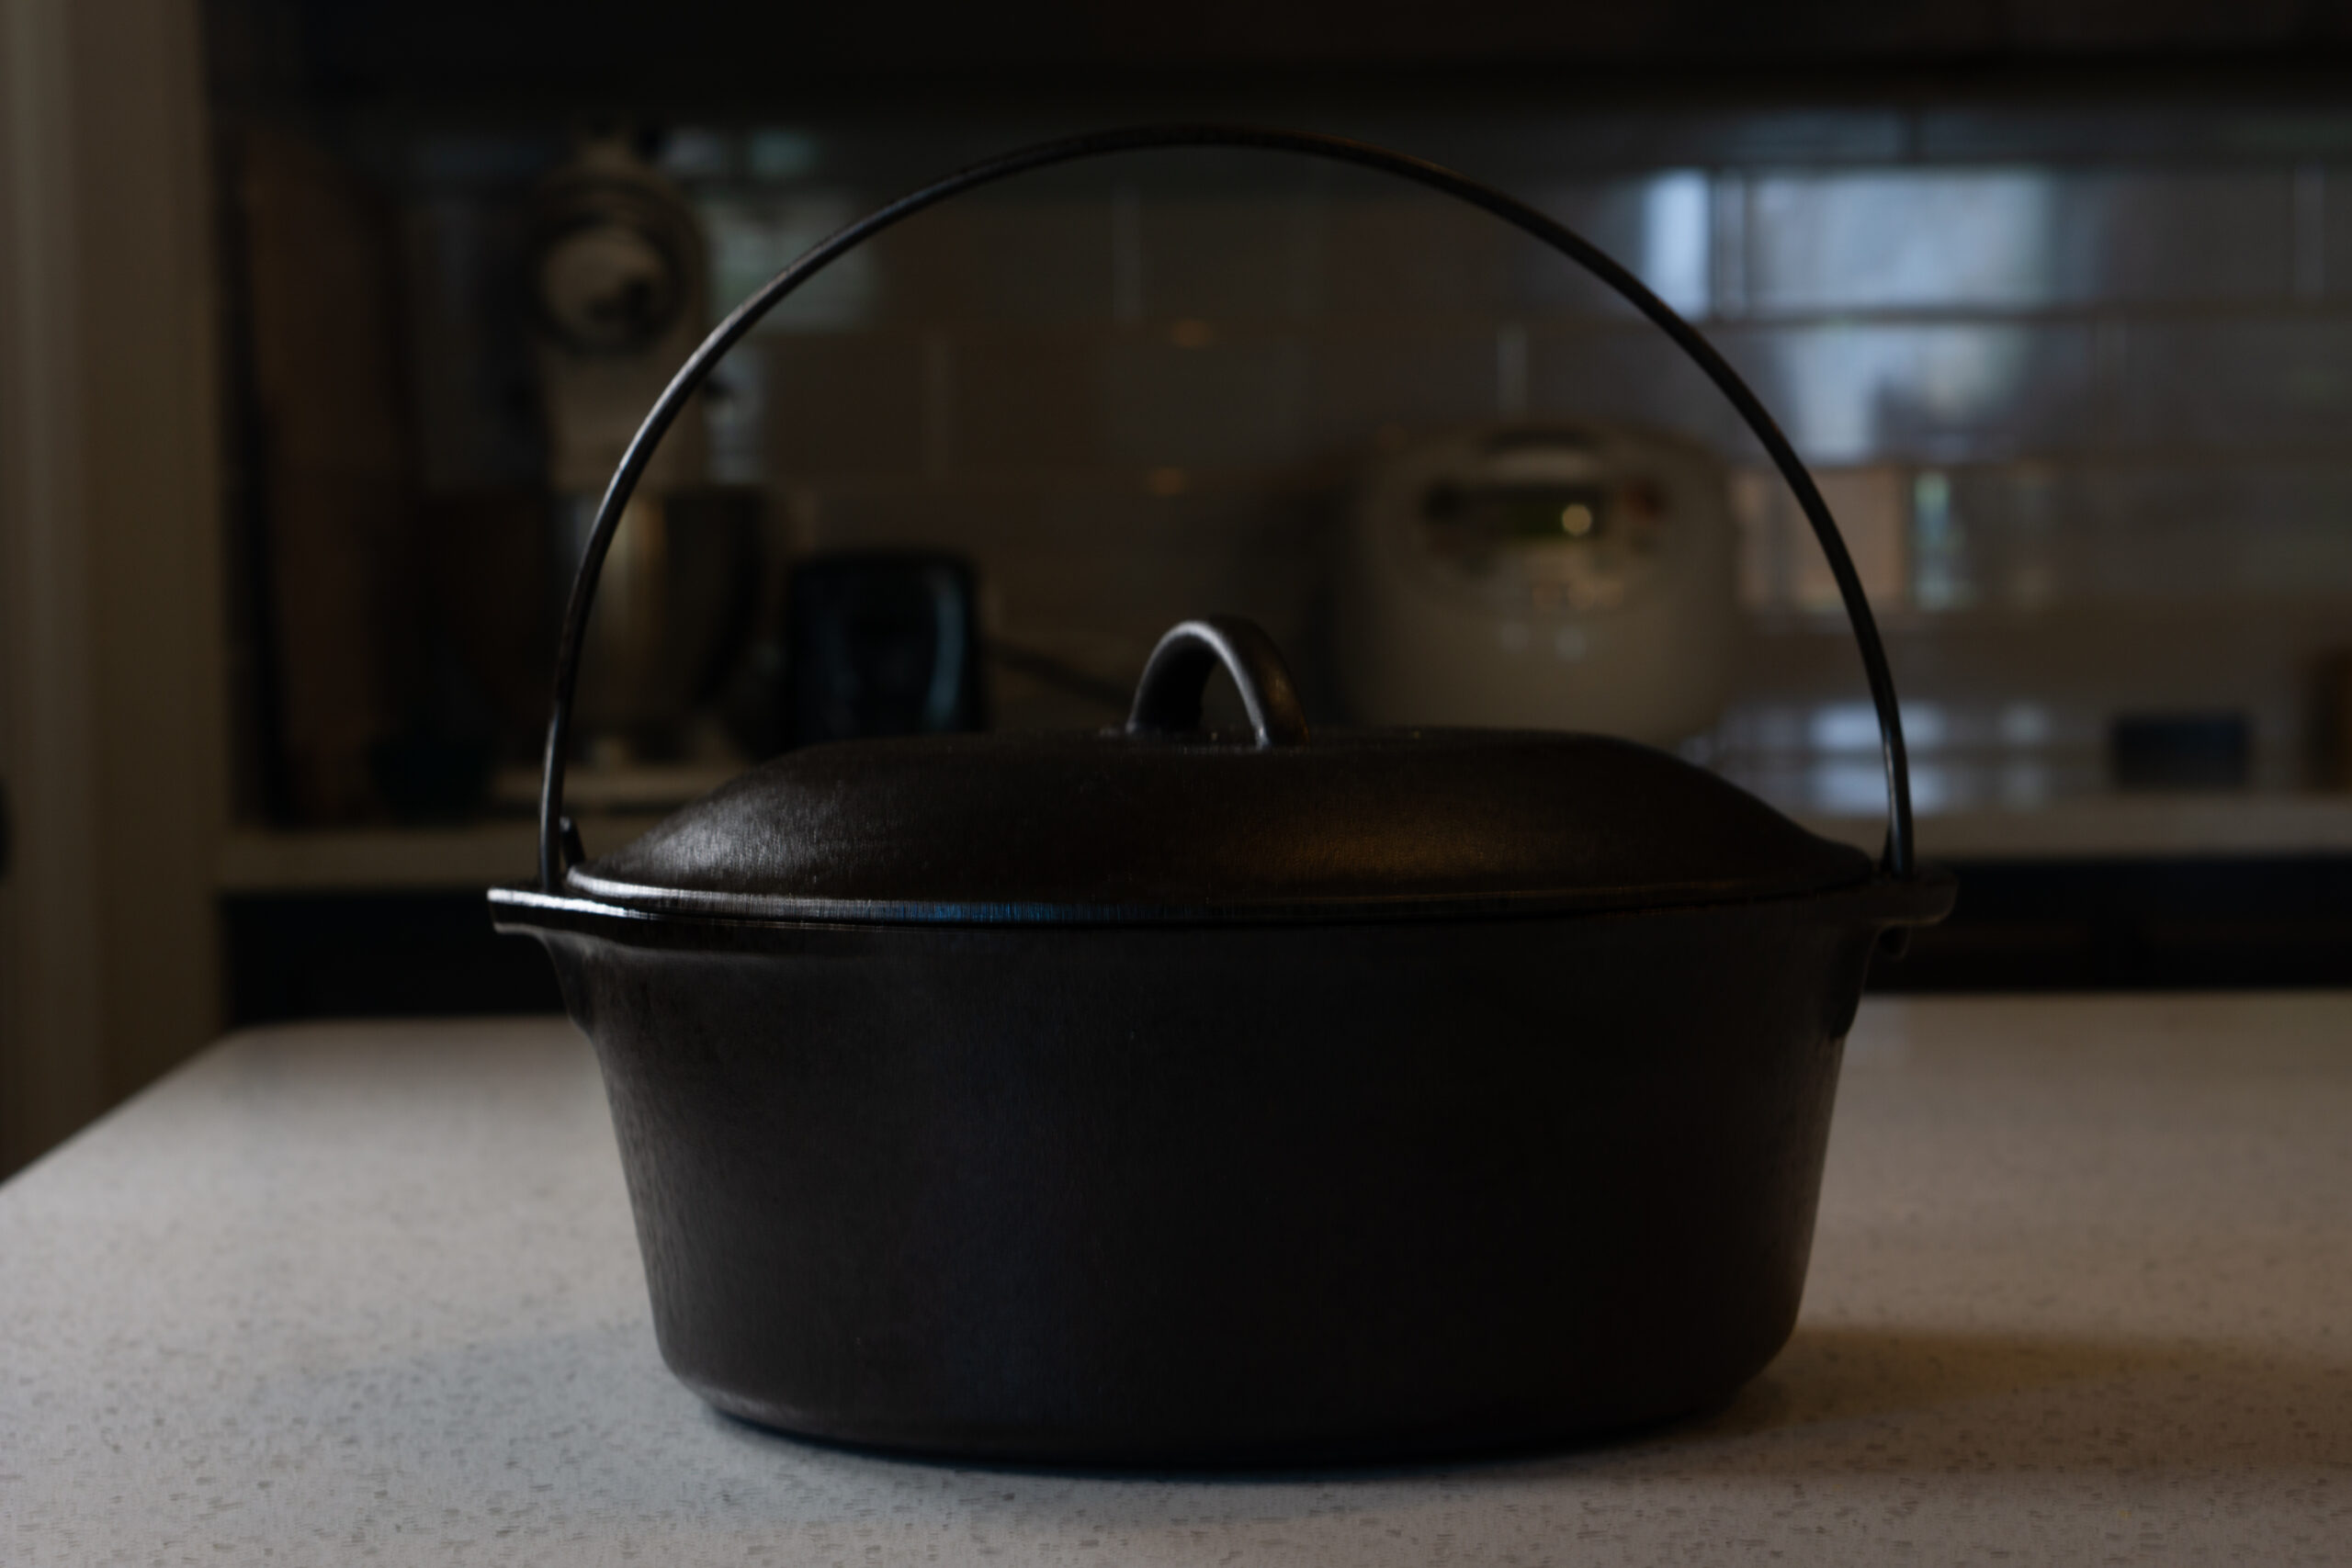
Now my cast iron is my pride and joy. My pans fry bacon and eggs, pan-sear steaks, and bake cobbler. My dutch oven braises meats, creates stews, and sautés vegetables. My teeny tiny egg pan is honestly just here for the vibes, but I could make a killer single-portion skillet queso if I wanted to. I don’t know yet. My collection is now worth hundreds of dollars.
And the best part is that restoring it was genuinely doable. I didn’t need lye or an electrolysis tank, or some fancy equipment ordered online. Just Coca-Cola, baking soda, white vinegar, steel wool, and a high-heat oil. Everything came from my kitchen or the nearest grocery store.
The beauty of cast iron is that it’s a family heirloom piece of equipment. Pans can last generations with proper care, and these suckers can be raised from the dead with consistent success. So, if you’ve been sitting on a rusty piece of cast iron, convinced it’s too far gone, it almost certainly isn’t. Here’s exactly what I did.
Is This Piece Worth Restoring? What to Look for Before You Start
Most thrifted or inherited cast iron is fully restorable regardless of how severe the rust appears. Surface rust, carbon buildup, and cosmetic damage are all completely fixable with pantry ingredients and time. The only conditions that make a piece unrestorable are structural: cracks, warping, or dangerously thinned walls. Check for all three before you start.
- Cracks: Hold your cast iron up to the light and run your thumb against the outer wall. Cast iron that has been dropped or thermally shocked can develop hairline cracks that aren’t immediately obvious. A cracked piece is not safe to use over heat, and no restoration will fix that.
- Warping: Set your cast iron on a flat surface and press the base. It should sit completely level. If the base rocks, it will never sit properly on a modern cooktop and will cook unevenly.
- Wall thickness: Vintage cast iron, especially pieces made before the 1960s, has thicker, smoother walls than modern cast iron. That means better heat retention, more even cooking, and durability that can last generations.
The rust covering my stash was cosmetic. Dramatic, extensive, and slightly alarming, but cosmetic. Remove the rust, re-season the iron, and the piece is exactly what it was when it left the foundry.

What Supplies Do I Need?
You need fewer supplies than you’d expect — and most are already in your kitchen. The full list includes Coca-Cola, white vinegar, baking soda, steel wool, a high-smoke-point oil, and a few household basics for protecting your workspace. No specialty products or tools required.

Here’s the full list with notes:
- Coca-Cola (regular) — one to two litres, depending on the size of your piece; enough to fully contact all rusted surfaces during the soak.
- White distilled vinegar — standard 5% acidity, used in the baking soda treatment stage.
- Baking soda — for the paste scrub and as a neutralizer after the Coke soak.
- Steel wool or a scrubbing pad — get a slightly coarse grade; you want enough abrasion to lift rust.
- Cheesecloth or paper towels — enough to fully wrap the piece for your Coke soak.
- Rubber gloves — the combination of rust, baking soda paste, and Coke isn’t super pleasant on bare skin after thirty minutes of scrubbing. Glove up.
- A baking tray or roasting pan — provides a shield between your de-rusting cast iron and your counter or table.
- An old towel — just an extra layer of protection for your counters.
- High-smoke-point oil — I use refined avocado oil (smoke point around 520°F / 270°C), but you can also use flaxseed oil or Crisco.
- Lint-free rags — use ones you don’t mind getting oily.
Why Does Coca-Cola Remove Rust From Cast Iron?
Coca-Cola removes rust because it contains phosphoric acid, which reacts with iron oxide and converts it into iron phosphate — a stable compound that wipes away cleanly. It’s gentler than the acetic acid in vinegar, making it ideal for an extended overnight soak without damaging the iron underneath.
How Do You Restore Rusty Cast Iron Step by Step?
Cast iron restoration follows five steps: an initial scrub to remove loose material, a baking soda and vinegar paste treatment, an overnight Coca-Cola soak to dissolve deep rust, a final rinse and scrub, and three to four rounds of oven seasoning. Plan for two days total — one evening of active work and one overnight soak.
Step 1: The Initial Scrub
Fill the piece with a small amount of warm water and a few drops of dish soap. Using your steel wool and rubber gloves, scrub the interior in circular motions. You’ll see dark brown and black residue coming off almost immediately. This is loose rust and old carbon. Keep scrubbing until the residue’s color lightens significantly.
Do the same on the exterior. The piece will still look rough and patchy when you’re done, which is totally normal. We’re not doing the deep clean yet — we’re just removing loose material so the next steps can reach the surface.
Rinse thoroughly and move immediately to Step 2. You don’t want bare, wet iron sitting long enough to flash-rust before the next treatment.
Step 2: The Baking Soda and Vinegar Treatment
Sprinkle baking soda generously over the wet interior surface of the piece, then add a splash of white vinegar. You’ll see and hear the fizz immediately as the two react. Using your steel wool, work the resulting paste into the surface using circular motions.
The paste will turn grey-black as you scrub. That’s material lifting from the surface. Keep going. Add more baking soda and vinegar as needed. For a heavily rusted piece like my Dutch oven, I spent about 15 minutes on the interior alone, refreshing the paste twice.
Do the same for the exterior, then rinse well. At this point, you may still see visible rust, especially in deeper pitted areas. That’s what the Coke soak is for.

Step 3: The Overnight Coca-Cola Soak
This is the step that does the work that nothing else in a pantry-only method can replicate.
Put a baking sheet on a towel, and then line the baking sheet with cheesecloth or paper towels. Pour Coca-Cola into the interior of the piece until it’s full, then wrap the cheesecloth up around the exterior, pouring additional Coke over it so the cloth is fully saturated against the outer surface. The goal is to have Coke in direct contact with every rusted surface — interior and exterior — for the duration of the soak.

Cover loosely with another towel and leave overnight, or for 8–12 hours.
When you come back in the morning, the Coke will have turned dark and slightly foamy from the rust that’s been pulled from the surface.

Step 4: The Final Rinse and Scrub
Pull the piece from the Coke soak and take it to the sink. Under running warm water, scrub every surface with fresh steel wool and your rubber gloves. The rust that the Coke treated should come away with very little effort. Work your way over the entire surface — interior and exterior — until no rust remains.
Rinse thoroughly to remove all Coke residue. Then, and I cannot stress this enough, dry the piece immediately and completely. I put mine directly on a low burner for five minutes to drive off any moisture from the pores of the iron before moving to seasoning. What you cannot do is leave wet bare iron sitting on the counter — it will rust again within minutes.
Step 5: Re-Season From Bare Iron
Preheat your oven to 450–500°F / 230–260°C.
With the piece warm and completely dry, use a cloth to spread a very light coat of your oil over every surface: exterior, interior, handle, lid. Then take a clean cloth and wipe almost all of it off. The surface should look nearly dry with just a faint sheen. This may feel like too little, but it’s perfect.
Place the piece upside-down on the middle rack of your oven, with a baking tray on the rack below to catch any drips. Bake for one hour, then turn the oven off and leave the piece inside to cool completely — at least another hour.
Repeat this process three to four times. After the first round, the surface will look patchy and uneven — my Dutch oven looked almost worse than when I started, which, fair warning, is slightly demoralizing. The second time will look more uniform. After the third or fourth round, it will have developed the beginning of that deep, dark matte seasoning that we love about cast iron. Now your piece is ready to cook.

How Do I Care for Restored Cast Iron Long-Term?
Restored cast iron requires the same basic care as any well-seasoned cast iron: rinse with hot water after cooking, scrub gently with a brush or chain mail scrubber for stubborn residue, dry immediately on a warm burner, and apply a very thin wipe of oil before storing. Avoid soaking in water, do not use the dishwasher, and limit acidic foods — like tomatoes, citrus, or wine — until the seasoning is well established.
Touch-up seasoning is normal. If a patch looks dull or starts to show rust after cooking acidic food, don’t panic. Scrub the area, dry thoroughly, apply a thin oil layer, and bake for an hour. Restored cast iron that’s actively used gets better over time, not worse.
Frequently Asked Questions About Cast Iron Restoration
Is it safe to use vinegar on cast iron? In short applications like the baking soda treatment described here — yes. Avoid soaking cast iron in straight vinegar for extended periods, as prolonged exposure to acetic acid can pit the surface of the iron. The baking soda paste method keeps contact time short and uses the fizzing reaction rather than the vinegar alone.
What oil is best for seasoning cast iron after restoration? Refined avocado oil, flaxseed oil, and Crisco vegetable shortening are all well-regarded options with high smoke points and good polymerisation properties. Avoid unrefined oils with low smoke points — unrefined coconut oil, extra virgin olive oil — as they burn rather than polymerise and produce a sticky, uneven seasoning.
How do I know if my restored cast iron is food safe? Once all rust has been removed and the piece has been through at least three rounds of seasoning, it is food safe. The seasoning layer is fully polymerised oil — inert and non-toxic. If you can see or feel any remaining orange rust after restoration, repeat the soak and scrub before seasoning.
Can you use Diet Coke, Dr. Pepper, or a store-brand cola instead of regular Coca-Cola? The active ingredient is phosphoric acid, not the Coke brand specifically. Most regular colas — including store-brand versions — contain phosphoric acid and should work the same way. Check the ingredients label before you start. I personally used regular Coca-Cola and can only speak to those results. Diet Coke also contains phosphoric acid, so it’s likely effective, but I haven’t tested it. Dr. Pepper contains phosphoric acid as well, though given the additional flavoring ingredients, I’d stick to a plain cola if you have the option.
Can you restore cast iron that has been stored outside or exposed to weather? Usually, yes. Outdoor exposure produces heavy surface rust, but as long as the piece has no cracks or warping, it responds well to the Coke soak method. You may need two rounds of soaking for pieces with very deep rust pitting.
Cast iron is one of those things that rewards you for paying attention. Not a lot of attention — just enough. Clean it, dry it, give it a little oil, use it. That’s the whole thing. The rest takes care of itself.
Download the free Cast Iron Restoration Reference Card — a printable step-by-step checklist of the full method, with a decision guide for light vs. heavy rust. Laminate-friendly for the workshop or kitchen.